Its a Boy!.......G1176 finished. (pics)

GroupDIY Audio Forum

Help Support GroupDIY Audio Forum:

This site may earn a commission from merchant affiliate links, including eBay, Amazon, and others.

Zee1usa

Well-known member
Joined
Jun 3, 2004
Messages
264
Location
Seattle,WA USA
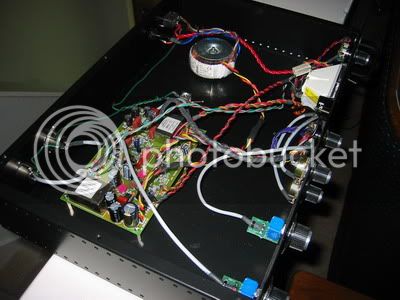
G1176 Finished! 30vdc/-10VDC proper and all transistor legs volt measurements are good. No smoke on power up :wink:


5.jpg


4.jpg


3.jpg


2.jpg


1.jpg


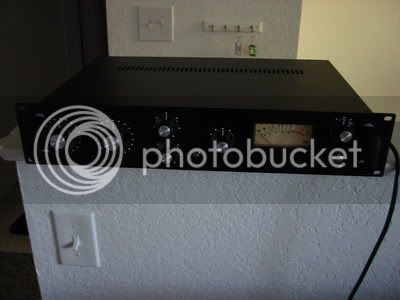
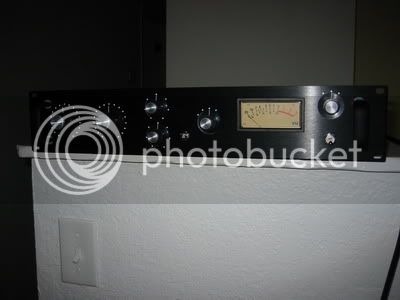
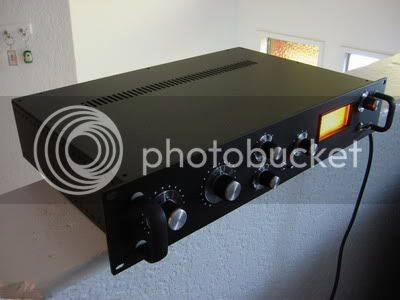
In the process of calibrating it now. Engaving will happen a little later
as I may be able to get it done for free. My dad goes to CAD classes at
the local community college that has a CNC machine which he may be able to later for me for low cost or free.

I should have my 2nd unit finished within a week or two.

Thanks to Jakob@Gyraf and everyone@ THE LAB.
 
Thanks Kubi!

I think Buckeye. The two large ones are the same as on the real 1176
and the others are like the ones from the UA 2108. same as small on the 1176 but with clear skirt and no black circle. Got them from WO'B

I chose to use a toggle rather than knob for on/off.

white dots are done with drill press and Titanium white
Acrylic (liquitex)

Rear lettering is no. 3211/ 1/4"(.64) white vinyl letters (duro decal co.)
 
Verrry nice work Zee!

[quote author="Zee1usa"]I chose to use a toggle rather than knob for on/off.[/quote]I really like the toggle...its more retro to me!

white dots are done with drill press and Titanium white
Acrylic (liquitex)
Ooo...nice idea!

Charlie
 
welcome to the world little boy :green: how much does it weight?
Caesarean section????

good job doctor zee! :thumb: :grin:

steff
 
Beautiful! That's a great idea about the dots - how did you do that?

:thumb: :thumb: :thumb:
 
:grin: Thanks for the nice comments.

Steffan: not sure of the weight? It was many long hours of Labor.

Gang of Elk: WOB= Winston O' Boogie, do a search you'll find him.

Jrmintz: I took a diagram of a old UREI unit and cut out each
section of markings and resized them to approx size. Printed
it out. Took a pin and poked a hole in each dot on the paper
lined the paper up on my front panel and took a sharp pencil
kind of like a fill in the blank type test and carefully made a mark
where each dot is and then took my spring loaded hole punch.
Punched each hole then used a small drill press on a very shallow setting
and carefully drilled each hole. Then I filled each hole with white acrylic
with a tooth pic. Be careful not to get to sloppy with the white
acrylic as it could faintly stain the black anodized panel. I used
lighter fluid to clean off the excess. May be a better way to do
it but this is what worked for me. I wish i had a engraving machine
for the lettering!

:guinness: :green:
 
Ive been trying to get in touch with W'ob for a few weeks now, he seems to be out doing his thing at the moment. Im sure he'll be back.

dave
 
Back
Top