


So a couple of weeks ago, I got a box full o' parts from Captain Jenrick, Head Pirate and coil winder extraordinaire. After a minor setback in the building process, today I finally got a chance to put these puppies together, so I took some pictures and documented the assembly process for your viewing pleasure. I know Chris did a similar page, so this is a little redundant, but what the heck... Enjoy!
'HP2503' ASSEMBLY:
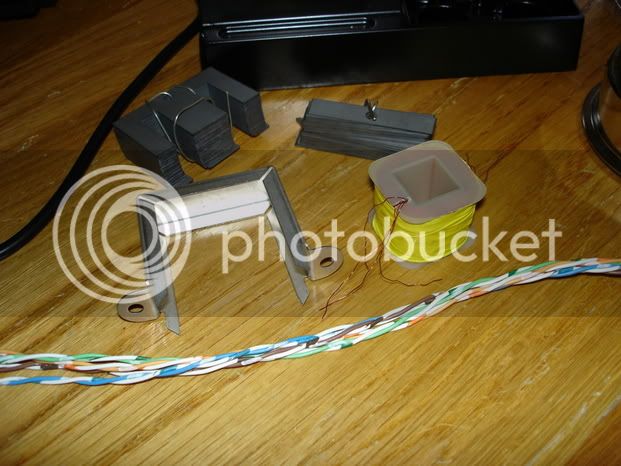
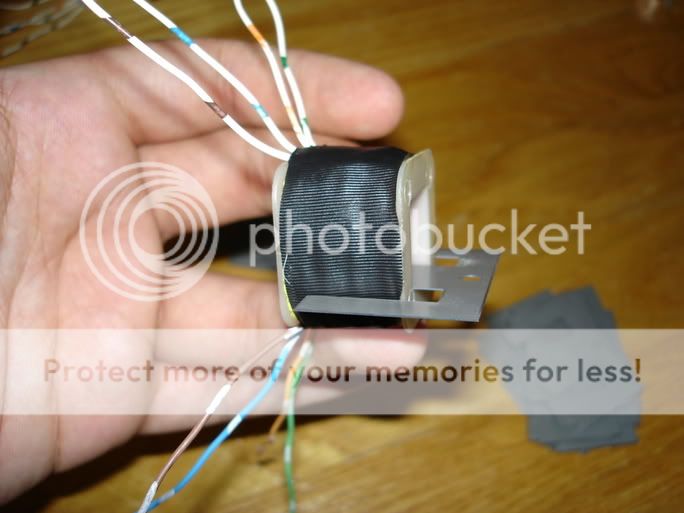
It all started as a bunch of parts:
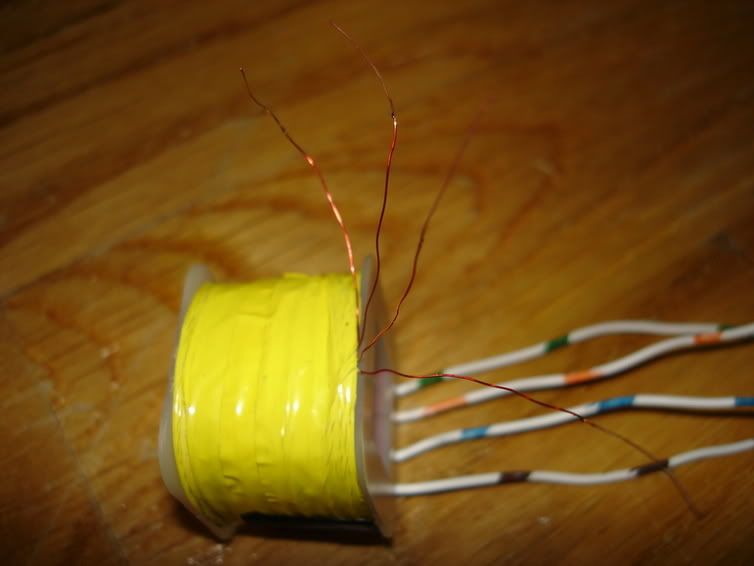
First I took the wires coming out the coil and burnt some of the varnish off the ends:
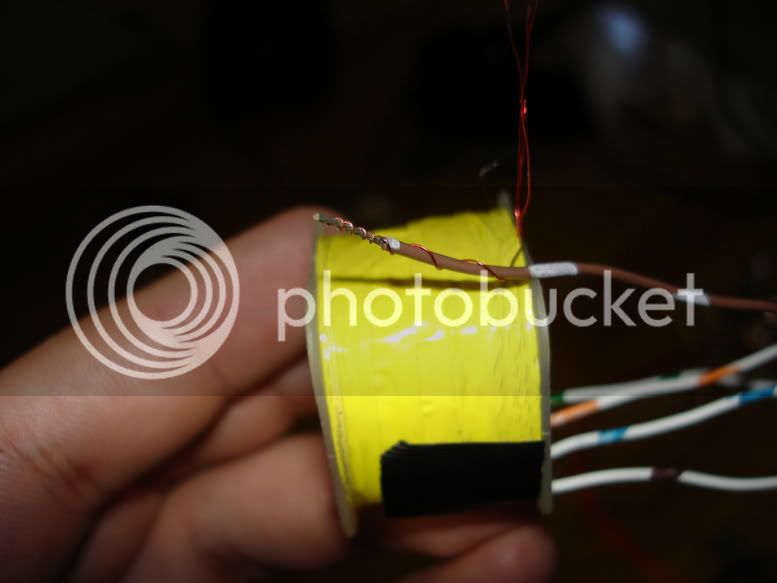
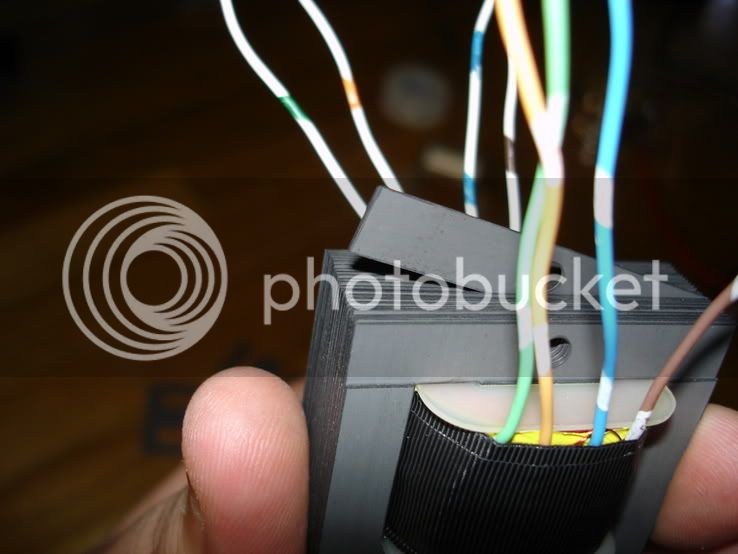
Then I cut the leads to length and twisted the wire around each one:
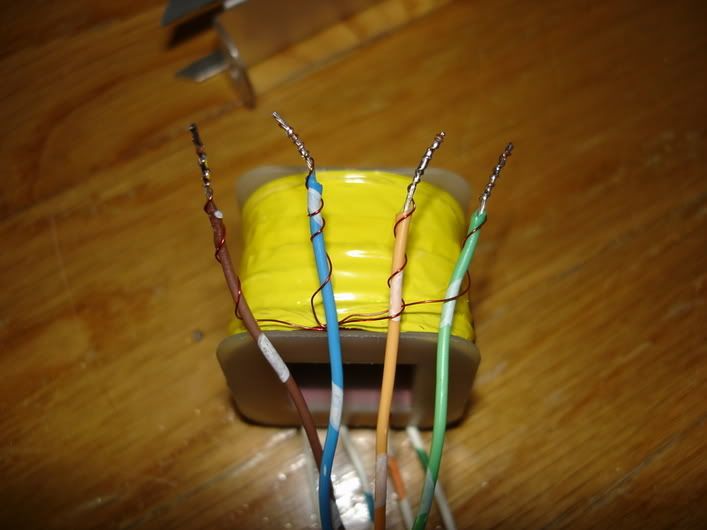
I soldered everything...
... and I taped things in place and bent the leads to create a strain relief of sorts:
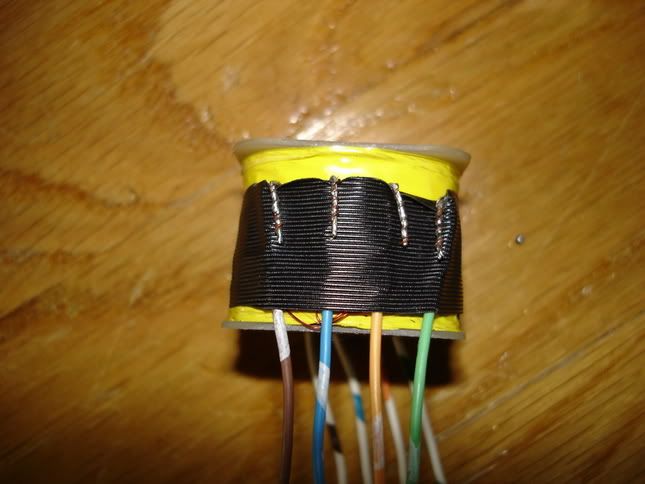
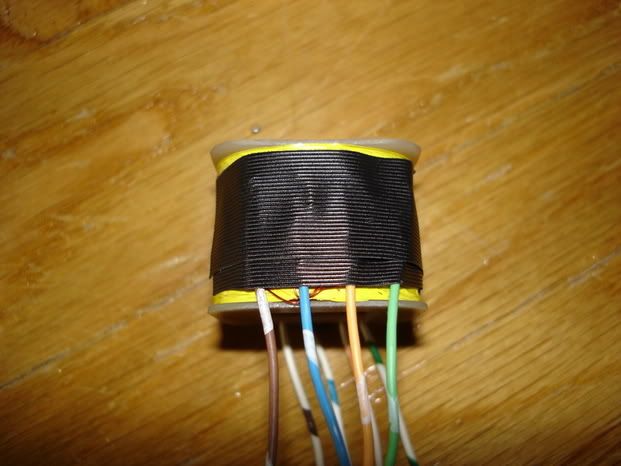
Some tape holds everything in place:
Then I took a long piece of tape...
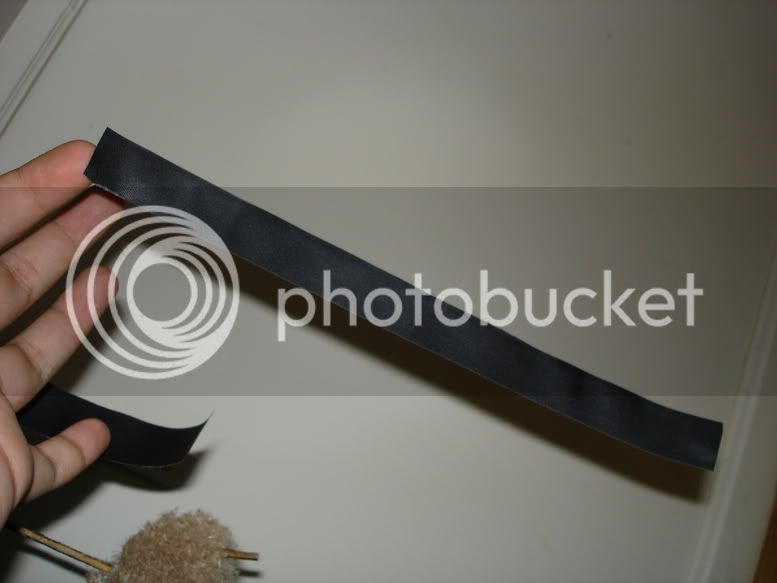
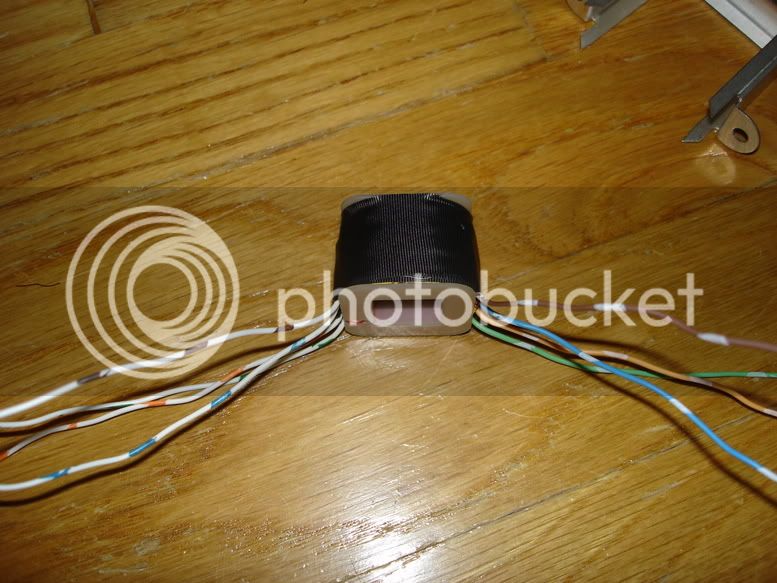
... and wrapped the coil with it. Coil is done!
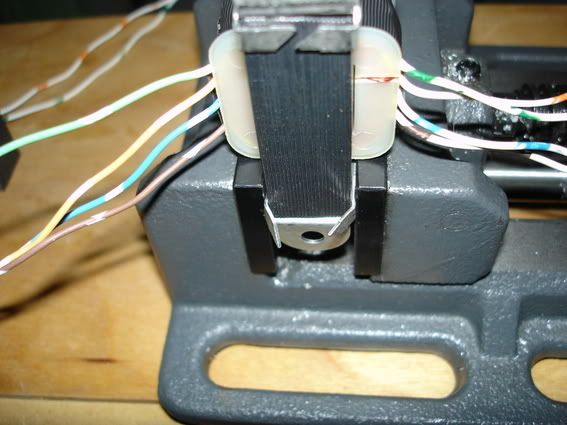
Put in the E lams:
Put in the I lams:
After banging everything with a hammer to make it nice and tight, I slipped the core in the U-frame, held the whole assembly in a vise, and banged the tabs down to hold the whole thing together:
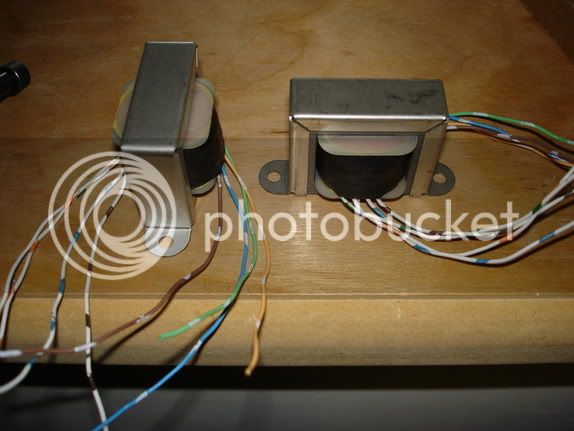
Ta-daaa!
Special thanks to Chris for all his efforts!!! :thumb: :sam:
Now I gotta hook them up and try them out on something...
Peace,
Al.
'HP2503' ASSEMBLY:
It all started as a bunch of parts:
First I took the wires coming out the coil and burnt some of the varnish off the ends:
Then I cut the leads to length and twisted the wire around each one:
I soldered everything...
... and I taped things in place and bent the leads to create a strain relief of sorts:
Some tape holds everything in place:
Then I took a long piece of tape...
... and wrapped the coil with it. Coil is done!
Put in the E lams:
Put in the I lams:
After banging everything with a hammer to make it nice and tight, I slipped the core in the U-frame, held the whole assembly in a vise, and banged the tabs down to hold the whole thing together:
Ta-daaa!
Special thanks to Chris for all his efforts!!! :thumb: :sam:
Now I gotta hook them up and try them out on something...
Peace,
Al.
