Mix Bus Compressor from scratch

GroupDIY Audio Forum

Help Support GroupDIY Audio Forum:

This site may earn a commission from merchant affiliate links, including eBay, Amazon, and others.
What would be really useful is a large guillotine, then the cut edges are straight and at right angles.
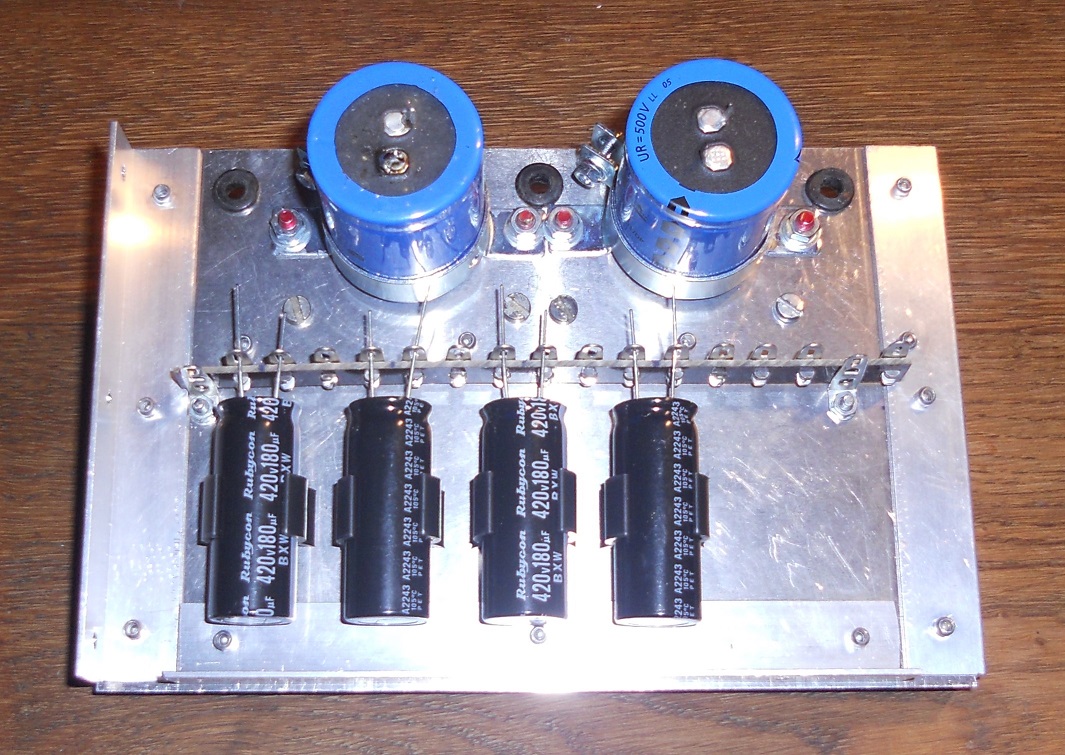
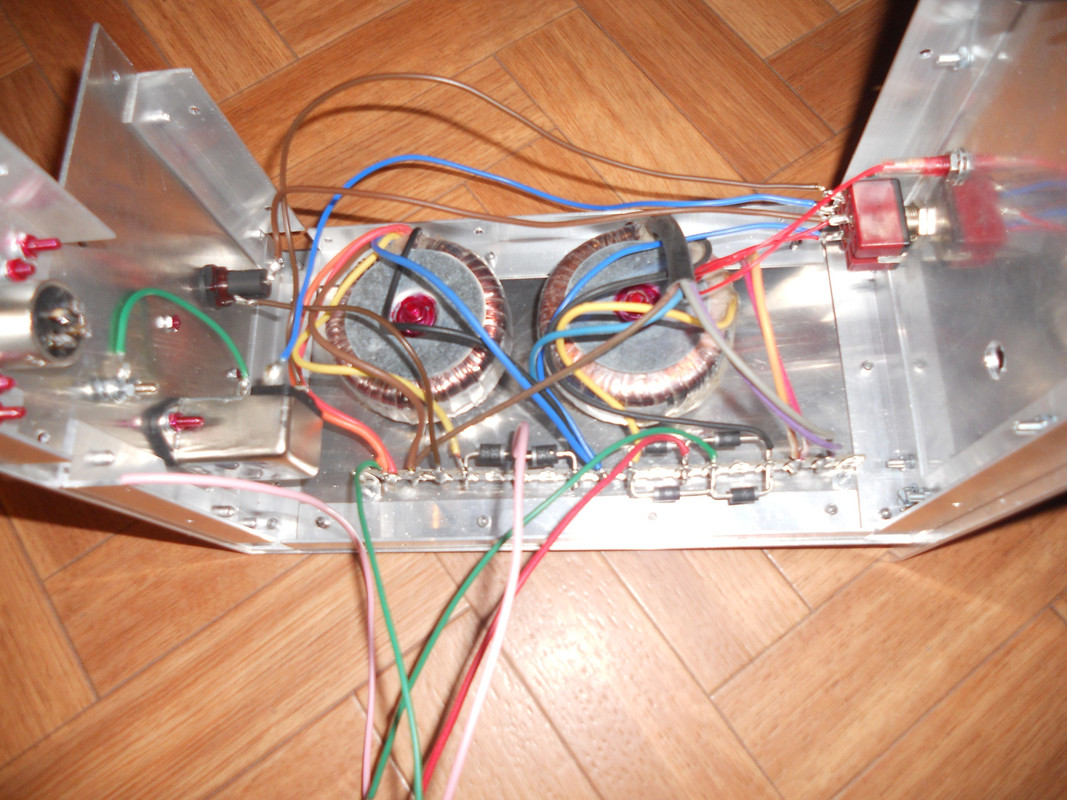
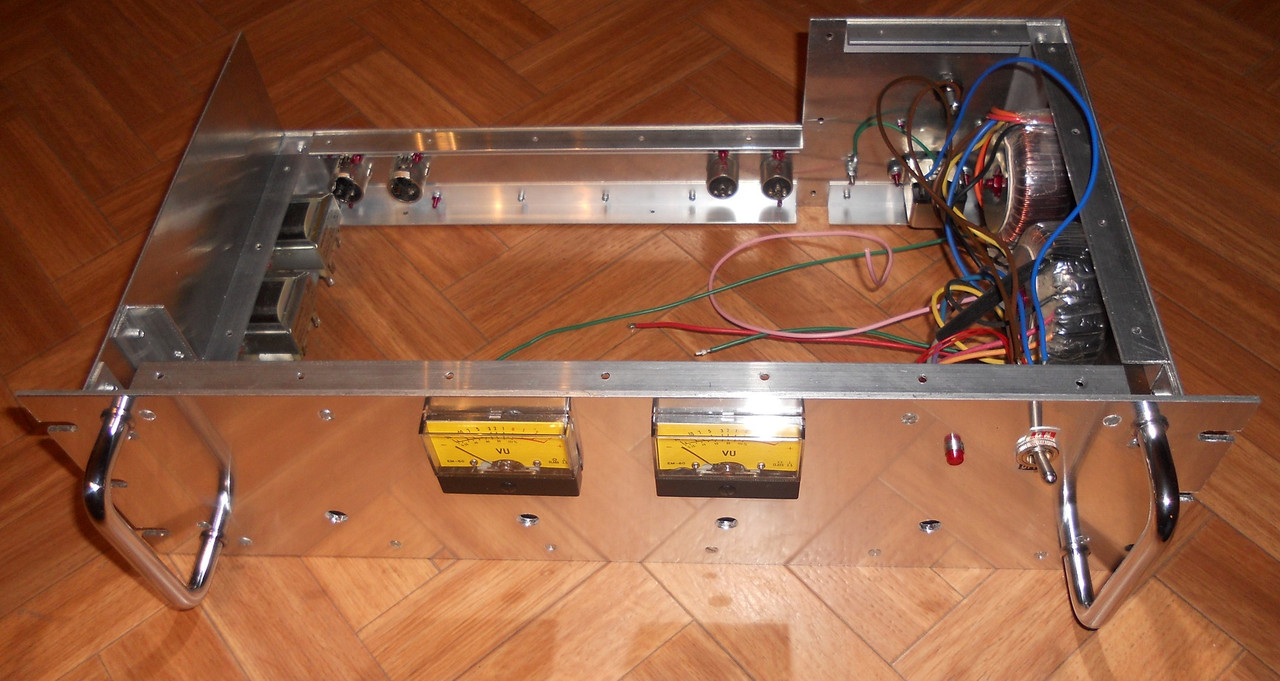
Yes, I know these things from my basic training, very handy. We even had one with a hydraulic drive, with that even I could cut sheet metal straight.:cool:
It is very time consuming cutting with a jig-saw and then getting a straight edge to within a quarter of a millimeter with a file and a steel ruler.
Yes, it's really exhausting. I'm really bad with the jigsaw, which is why I bought the mini circular saw. With my DIY saw jig, I can actually cut straight now and the amount of reworking is minimal(y)
 
What would be really useful is a large guillotine, then the cut edges are straight and at right angles. It is very time consuming cutting with a jig-saw and then getting a straight edge to within a quarter of a millimeter with a file and a steel ruler.
best
DaveP
Could you please share full schematic?
 
The capacitor panel is now complete and ready to fit to the chassis


The heater capacitors will be 2x 47,000uF at 16V (not the 500V one shown)
The HT caps are 4x 180uF at 420V. they are very compact and 10,000 hours and excellent value.
Grommets in place for HT&LT supplies and busbar.
best
DaveP
 
I used to use the red nut fixing fluid from RS, but when I moved to France they charged a fortune for special UN packaging because it was inflammable.
Now I use red nail varnish which seems to be identical in performance and odour....if it walks like a duck and sounds like a duck....:)
best
DaveP
 
I got to the point where I could join the back to the front. This shows the power supply and diodes before tidying up.
The heater supply is DC from a centre tapped TX, this format has the lowest diode drop and uses solar panel diodes SR1503, again for the lowest diode loss.


The chassis is starting to take shape and the final support will be next to go in.


This is the working power supply schematic. I have calculated the resistors to give the voltages indicated but they are subject to revision if need be later on.


best
DaveP
 
I have completed the HT/B+ circuits, but I will have to run the tubes to discover the right value for the heater dropper resistor. I estimate it will be around 1ohm, but it depends on the amount of regulation in the heater TX. Anyway, the space at the top left hand corner is reserved for this resistor.


I can temporarily connect the tubes and run a test. The HT supplies are white 280V, purple 270V and grey 236V, they feed all the circuits in the compressor.
best
DaveP
 
I set up a temporary heater supply with all the tubes in place


After messing around with various Al clad resistors, I found out that it needed 1.15 ohms to give 6.3V DC. I got close to this with two little 10W resistors in parallel, 3 ohms//1.8ohms. This worked out well for the space available.

.

With this done, the power supply is complete and the cap panel can be fixed in place.
best
DaveP
 
Caps2.jpg
sorry for maybe stupid question...
Where did You take this mounts for capacitors?
 

Latest posts

Back
Top