Newbie builds GroupDIY 51X rack

GroupDIY Audio Forum

Help Support GroupDIY Audio Forum:

This site may earn a commission from merchant affiliate links, including eBay, Amazon, and others.
[silent:arts] said:
congratulations - and many many thanks for the documentation of your great work !!!
now fill it up  ;D ;D ;D

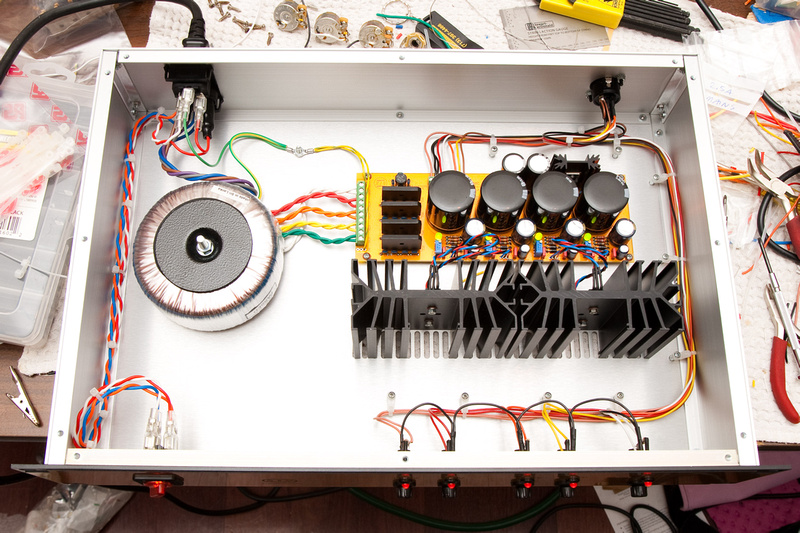
Thanks for putting together a great project. . . and yes, this rack has pretty much already filled up .  . .

2x ClassicAPI VP26 w/ GAR2520
2x ClassicAPI VP26 w/ GAR1731
2x Classic API VP312DI w/ APP2520E
2x Great River 32EQ
2x ClassicAPI VC528 (next in the build queue)
2x Igor F76 (full kits in hand)

uh oh. . . good thing I bought another rack from jsteiger from the 2nd production run before they ran out!
 
Unit 2 is up and running. . . much quicker and smoother build this time now that I have a build procedure. . . and, well, I wasn't taking pictures the entire time. 

I did manage to switch up 2 wires on the -24V regulator.  It measured 37.3 volts and would not attenuate.  I first pulled the trim pot, but it measured to be working properly so I put it back in. . . then, I took a closer look and spotted the switched up wire :)  and I didn't have to bother anyone on forum for a diagnosis.


p959310036-4.jpg


22 channels of 51x goodness  ;D
 
Congrats on successful build #2 'Chung!  8) 

Feels good doesn't it!  :)

I know it also feels good that you found the little issue with the 48V supply and fixed it all on your own!  ;)
 
Regarding the cable: has anyone pitched the idea of using 8-pair snake cable and twisting the leads of each pair + shield together to increase the gauge?
 
chunger said:
Unit 2 is up and running. . . much quicker and smoother build this time now that I have a build procedure. . . and, well, I wasn't taking pictures the entire time. 

I did manage to switch up 2 wires on the -24V regulator.  It measured 37.3 volts and would not attenuate.  I first pulled the trim pot, but it measured to be working properly so I put it back in. . . then, I took a closer look and spotted the switched up wire :)  and I didn't have to bother anyone on forum for a diagnosis.


p959310036-4.jpg


22 channels of 51x goodness  ;D

Nice! Congrats!! so you already have 2 PSU for 2 eleven modules racks? or this is a backup PSU?
Cheers!
 
2 complete 51X racks w/ psu. . . I knew from the beginning I would fill 1 rack pretty quickly, and this was something that would catch on.  Now, I can leisurely acquire 51x projects as they come online and not worry about running out of space for a while.  :)
 
I'm really impressed by the dimple you created for the toroid on your 500 tester PSU.  It's make a small mess on the bottom of a 19" rack case, but since you never see that bit anyway I don't consider that to be a huge deal...

How thick was the metal that you bashed that dimple into?  Using similar techniques, how thick couold the metal be do you think?
 
Don't know what it's called. . . just remembered reading something similar in a sheetmetal book that was more automobile fabrication based.  I was pretty shocked that nobody sells a die set for this sort of thing.  Simple 2 part die with some sort of threaded tightening/loosening arrangement.

If you want to clean it up, you can sand/polish the dimple after you make it and then paint the case.  I didn't bother because it was late at night and I didn't want to go locate all my grits of sandpaper.

I suppose you can do fairly thick sheetmetal.  Jeff may be able to give more guidance on the gauge of the 51x blank back-plates that I used.  If you need to work it a lot, you may need to anneal it?  Is that the word?  Heat it with a torch when the metal gets too brittle and fatigued, but for 1 dimple, I don't think that'll be an issue especially on a steel case.
 
They usually use presses with custom made tooling to do recesses like that, but I use a socket and washer in place of the toroid and crank the bolt down until the bolt head is recessed.
 
Hey guys,

Forgive my ignorance, but where does the "chassis" connection actually connect with the chassis? In the 51x rack itself?

I guess after sifting through all the threads on this thing, I'm still a little fuzzy on the grounding concerns.

Do the "chassis" and "ground" both meet in the PSU star ground point? If so, what is the point of having both?

sorry, I'm still trying to wrap my head around concept, before I build the PSU and completely F it up.

cheers
Eric
 
Hi All,

First I'd like to thank Chunger for this awesome build thread.  I really liked his diagram for laying out the AC and DC parts of the wiring.  I was having some trouble following how everything connected as there was a lot on that single page so I decided to redraw it for two reasons:
[list type=decimal]
[*]It would force me to think about each connection and let it "sink in" per say.
[*]I would have two nice clean vectorized diagram that I could follow (and share with the community) while I was connecting both the AC and DC sides of the power supply circuit.
[/list]

So without any further adieu I present my rendition of the GroupDIY 51X power supply AC wiring pseudo-schematic.
:eek:
 

Attachments

  • GroupDIY 51X PSU AC Wiring Guide.pdf
    93.2 KB · Views: 86
And now the GroupDIY 51X power supply DC pseudo-schematic. :)
 

Attachments

  • GroupDIY 51X PSU DC Wiring Guide.pdf
    25.8 KB · Views: 102
Just got my kit in, looks good..
A couple of questions:
when would you want to ground pin 1 of the XLR to the chassis? Isn't the whole idea of a chassis path to keep it separate from any other grounds back to the common node? This is the way it is done in high end consoles and gear, using the chassis to shield the components.. It just seems like using the chassis as a signal path is bound to create problems, and if you want to lift pin 1 you do that on the cable side of the equation.
Is there any situation where just jumping the pin 1 to P/S ground is not going to work?
How much heat needs to be dissipated on the various regulators? I see some really beautiful work using some monster heat sinks pictured here, but is that necessary? How large do the actually need to be?
 
I am not sure if you mean the XLRs on the 511 rack or the psu.

In terms of the 511 rack, generally the goal posts on the ground connection regulary change depending on how the match is going. But the fundamental is that if you are not sure just connect it to the chassis. However, in most cases it must be connected to the chassis for the best EMI protection.

On the power supply, pin 1 of the 7 way Neutrik provides chassis link to the 511 rack. You do not have to connect the circuit ground to it.

As for the heatsinks, yes you may not need those chunks.  However, I tested the psu under full load and pretty rough conditions and those heatsinks proved to provide the best performance.

On the new version of the psu I have a different but still high performance  heatsink configuration. Stay tuned.
 

Latest posts

Back
Top